Open Tracheostomy (Technique)
Open Tracheostomy (Technique)
David Ray Velez, MD
Positioning
- Supine
- Arms Tucked
- Neck Extended with a Shoulder Roll Under the Shoulders (May Be Unable if in a Cervical Collar, etc.)
Identify Anatomy
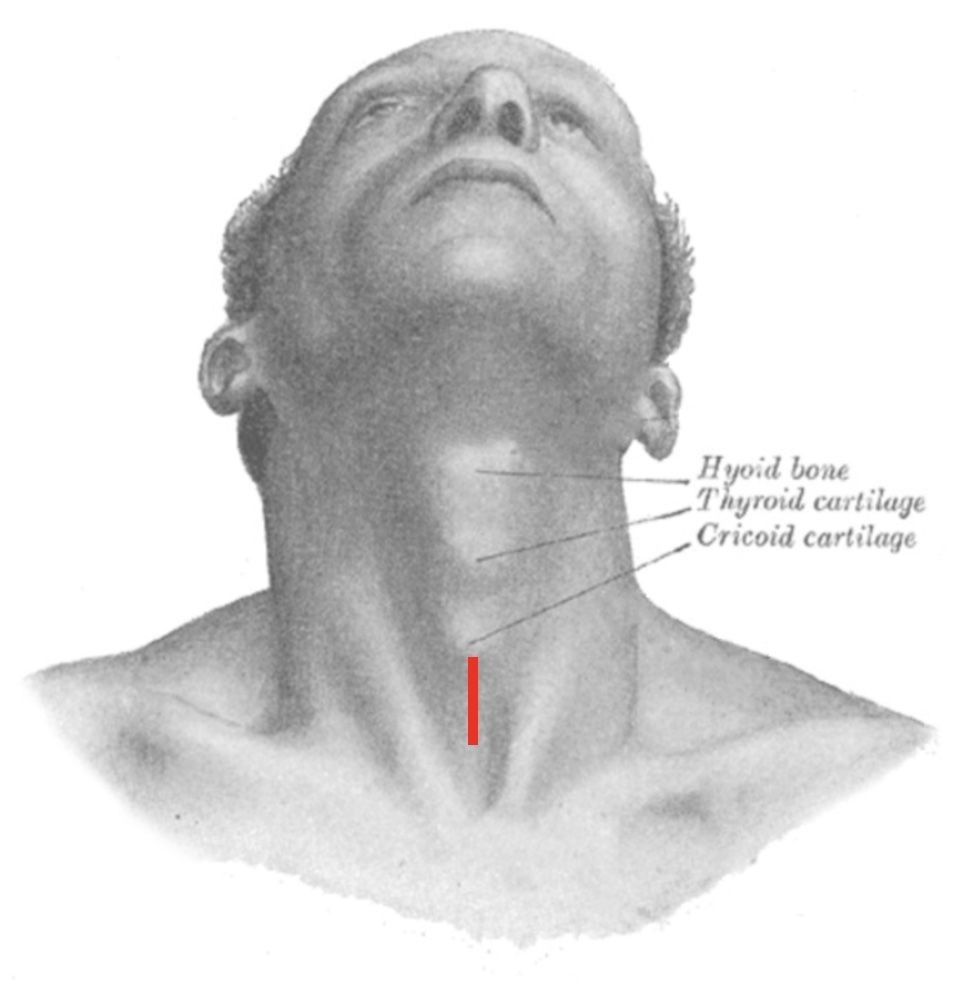
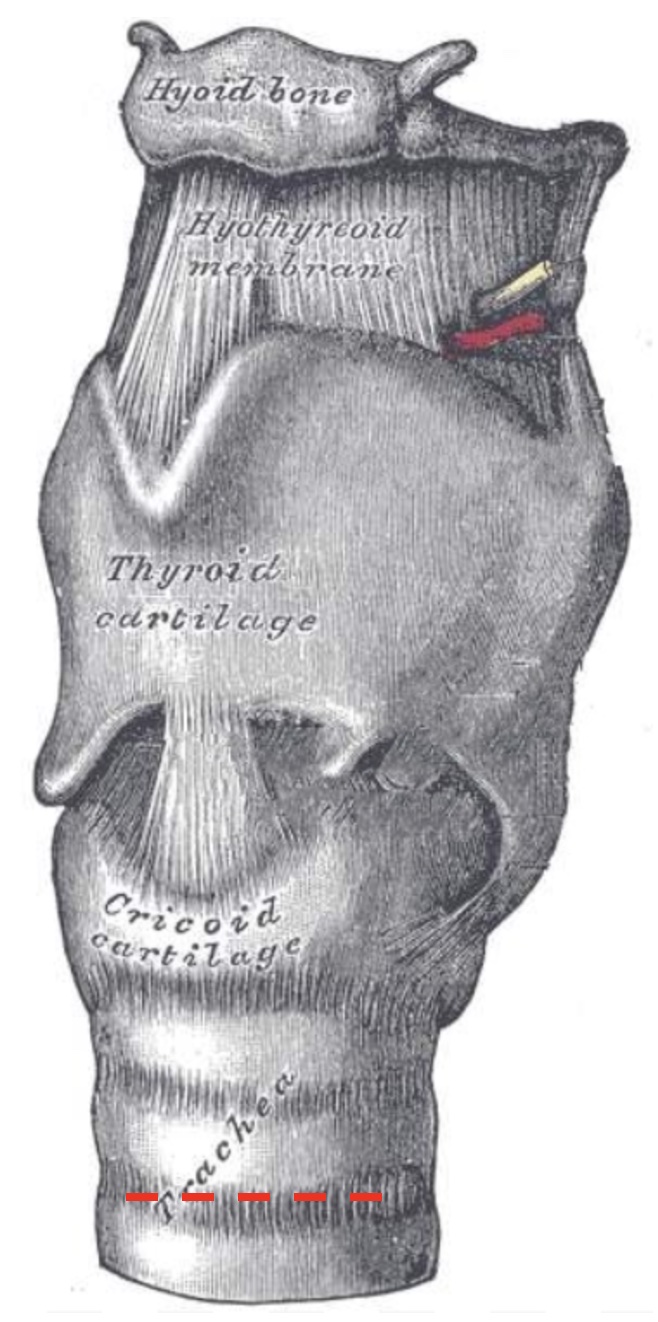
- Identify the Sternal Notch, Thyroid Cartilage, Cricoid Cartilage, and Trachea
- Goal Location: Below the Second or Third Tracheal Rings
- Risks of Improper Position
- Higher: Tracheal Stenosis
- Lower: Tracheo-Innominate Fistula
Incision
- Location: About 2 Fingerbreadths Above the Sternal Notch
- Direction: Vertical
- Some Prefer Horizontal
- Length: 2-3 cm

Tracheostomy Incision
Dissection
- Divide the Platysma and Retract Laterally
- Retract the Thyroid Isthmus Superiorly
- May Require Division of the Thyroid Isthmus to Access the Trachea
- Expose the Trachea and Identify the Target Site (Below the Second or Third Tracheal Rings)
- Ensure Meticulous Hemostasis Before Puncturing the Trachea
- *Do Not Want to Use Electrocautery Once the Trachea is Open – High Oxygen Content is a High Risk for Fire
Consider Placing Stay Sutures
- Temporarily Deflate the Endotracheal Tube Cuff (Prevent Needle from Catching the Balloon)
- Place Non-Absorbable Sutures (2-0 Prolene) Far Laterally on Either Side of the Trachea at the Target Site
- Air Knots are Tied to Secure the Suture but Allow Later Removal
- The Sutures are Secured to the Skin with Tape or Steri-Strips at the End of the Case
- *Stay Sutures are Used to Stabilize the Trachea to Assist in Tracheostomy Replacement in the Case of Accidental Dislodgment
Place the Tracheostomy
- Create a Tracheotomy with an #11 Blade Scalpel Under the Second or Third Tracheal Ring
- Tracheotomy Technique:
- “X” Incision
- “+” Incision
- “T” or Inverted-“T” Incision
- Square Incision
- “U” Incision
- Insert a Tracheal Dilator and Expand to Dilate the Opening
- Pull Endotracheal Tube Back Under Direct Visualization to Just Above the Tracheostomy Site
- Insert the Tracheostomy Tube
- Insert the Inner Cannula into the Tracheostomy Tube
- Inflate the Tracheostomy Cuff
- Fully Remove the Endotracheal Tube from Above
Secure
- Secure the Tracheostomy with a Tracheostomy Tube Holder (Strap) Around the Neck
- Consider Securing the Tube Itself to the Skin with 2-4 Sutures
- Use is Debated – Risk for Wound Complications but Does Not Decrease the Risk of Accidental Decannulation

Tracheostomy Site
